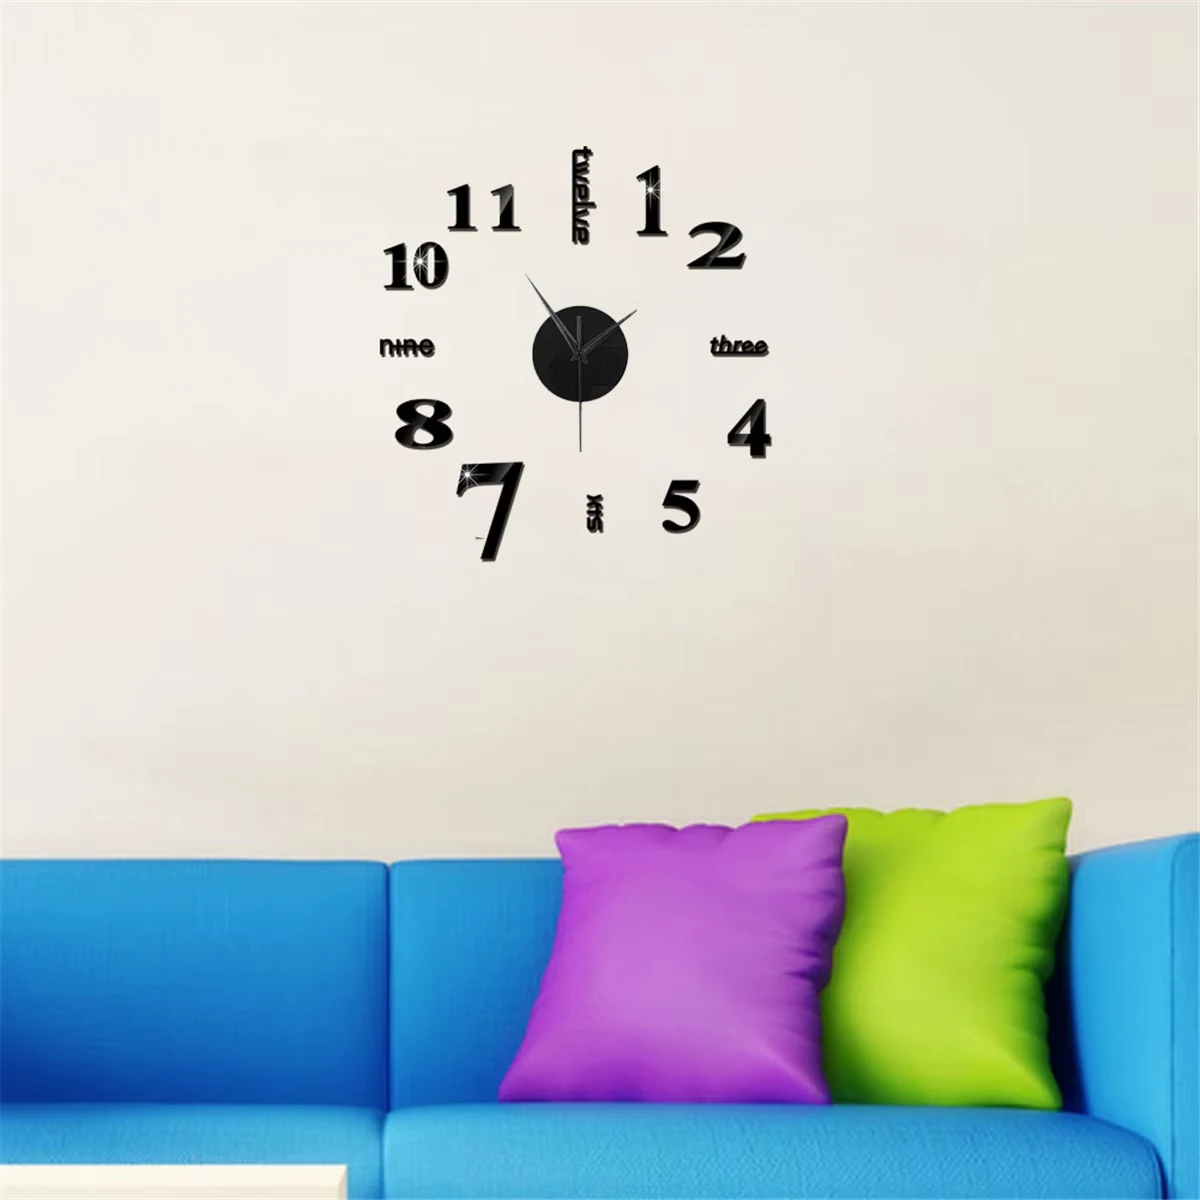

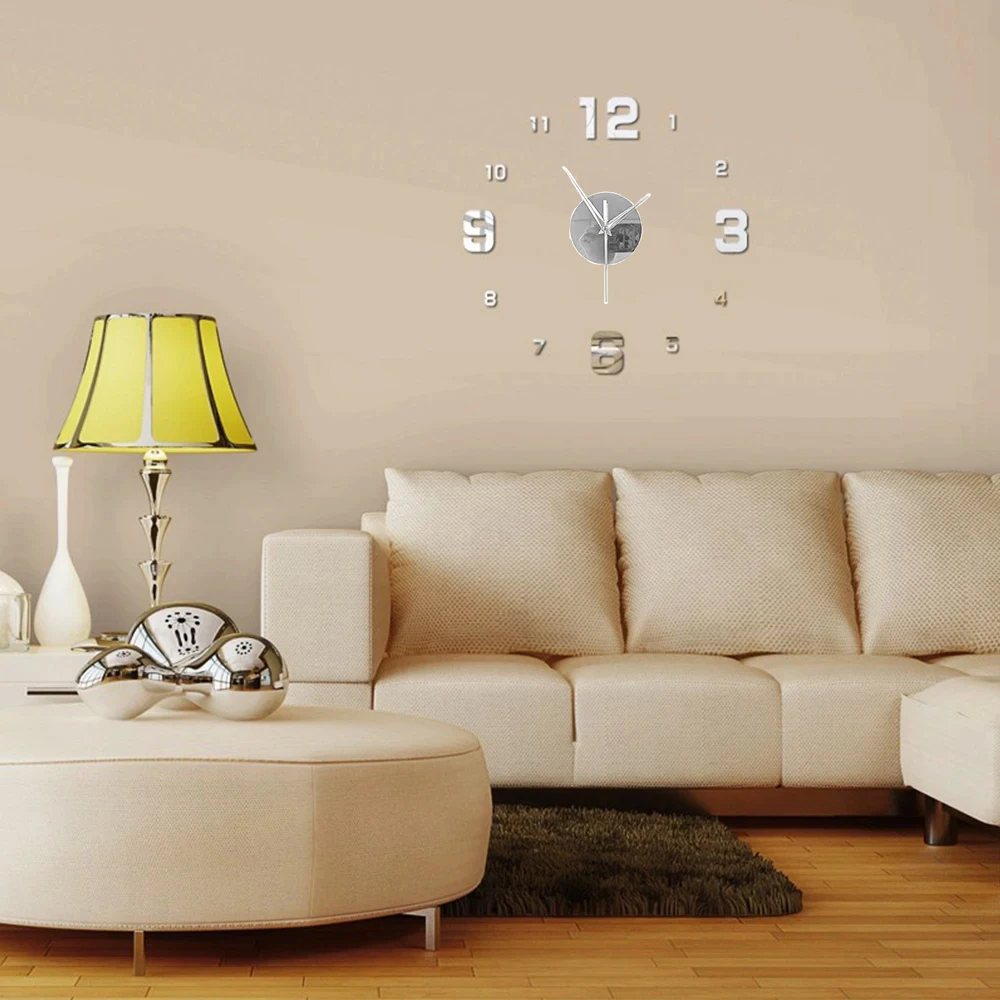


3D Wall Clock Modern Design DIY Acrylic Mirror Wall Stickers for Living Room Bedroom Home Decor Quartz Needle Clock Hot Europe
The feature:
1. A new product with 100% high quality;
2. Wall clock with a 3D effect;
3. DIY production increases the enjoyment of practice;
4. The wall sticker is easy to install and remove;
6. It is self-adhesive, water and steam resistant, non-toxic, and safe for children;
It is suitable for living rooms, children's bedrooms, restaurants, kitchens, offices, bathrooms, cafes, halls, and other smooth walls.
8. They can be used as gifts and handmade products, commercial gifts, holiday gifts, promotional gifts, and home decoration.
It is a good gift for your friends, loved ones, and family.
Description:
Product Name: 3D Mirror Wall Stickers for Wall Clock
Materials: Plastic
Size: Diameter: 4 From 0 to 60 cm
Clock hand: 7 cm
Minute hand: 9.4 cm
Used: 11 cm
Thickness: 1 mm
Style: Acrylic Mirror (not included Eva foam)
Color: Silver, Black, Gold, Red
Movement: Quartz
Battery: 1 × AA battery (1.5 volts) (not included)
The size of the clock finish depends on your preferences for decorating your wall.
The package includes:
1 × Wall stickers with a mirror 3D wall clock (battery not included) and does not include Installation template )
Note:
1. Please allow an error of 1-3.0 mm due to manual measurement. Fixed and mobile, please make sure you don't mind before purchasing.
2. Colors may vary depending on the display differences, please understand that.
How to install?
Step 1: Clean the walls and keep them dry, install the clock movement on the wall.
Step 2: Remove the protective layer from the mirror and stick it on the EVA number. Cover the clock movement with the auxiliary scale, and stick the numbers in the correct position according to the scale.
Step 3: Lower the hour hand, then fix the minute hand. Tips: Press the clock hands at the clock's axis and point to 12 o'clock.
Step 4: Set the time using the button on the clock movement and install the battery.
Step 5: Hang the clock movement on the wall.
Step 6: It's all done! You can enjoy your artwork now.


